
What This Page Does:
We show you exactly what to do before removal arrives. Not to make our job easier, but to protect your investment and ensure your floor is properly prepared. This preparation determines whether your new flooring lasts 20 years or fails in 2.
Why Proper Preparation Matters:
Prevents moisture from being trapped under subfloor
Protects your family from asbestos disturbance
Prevents damage to adjacent areas and walls
Ensures complete adhesive removal
Prevents flooring failure months later
A few hours of proper preparation saves $15,000+ in future repairs.
What You'll Learn:
Room-by-room preparation checklist for your carpet removal service. How to protect your home. What contractors need to access. Critical questions to ask before removal day. How to verify quality work after completion.
Our Perspective:
After fifteen years and thousands of removals, we believe your preparation matters as much as our execution. You're not just clearing a room. You're building the foundation for your next floor. Let's do it right.
TL;DR Quick Answers
What is a carpet removal service?
Professional extraction of carpet, padding, and adhesive with asbestos screening, moisture testing, floor inspection, and documentation. Not just hauling trash away. Four critical phases determine whether your new flooring lasts twenty years or fails in two. Proper preparation enables quality work.
Top Takeaways
1. Your Preparation Determines Flooring Success or Failure
Preparation = 50% of removal outcome.
Prepared space enables:
Thorough assessment
Complete adhesive removal
Accurate moisture testing
Comprehensive documentation
Unprepared space forces:
Clutter management
Incomplete removal work
Rushed testing
Skipped documentation
Reality: Proper preparation determines if flooring lasts 20 years or fails in 2.
2. 70% of Flooring Failures Start During Removal, Not Installation
70% of flooring failures trace to substrate problems during removal.
When homes are unprepared:
Contractors manage clutter instead of working
Complete removal cannot be achieved
Floor inspection gets rushed
Adhesive removal stays incomplete
Result: Substrate problems cause new flooring to fail.
When homes are prepared:
Each phase gets full contractor attention
Complete work gets done thoroughly
Problems get prevented before they start
3. Proper Preparation Prevents $15,000+ in Future Repairs
Industry loses: $2.4 billion annually in remediation costs.
Failures caused by:
Incomplete removal processes
Unprepared spaces
Moisture left behind
Incomplete adhesive removal
A few hours of preparation prevents:
Moisture trapped under subflooring
Asbestos fibers disturbed
Incomplete adhesive extraction
Future repairs exceeding $15,000
4. Four Phases of Professional Removal Require Proper Space Access
Phase 1: Screening & Assessment (30-60 minutes)
Asbestos check
Moisture testing
Floor inspection
Documentation
Phase 2: Complete Removal & Preparation (varies)
Full extraction
All tack strips removed
All nails removed
Complete adhesive removal
Phase 3: Testing & Verification (30-45 minutes)
Floor condition inspection
Moisture readings documented
Levelness assessed
Subfloor integrity confirmed
Phase 4: Reporting & Communication (30 minutes)
Findings summary provided
Photographs included
Flooring recommendations given
Each phase requires clear access. Proper preparation enables all four.
5. Preparation Is Your Responsibility to Your Flooring's Future
You are not simply clearing a room.
You are:
Creating conditions for thorough assessment
Enabling complete adhesive removal
Allowing accurate moisture testing
Supporting proper documentation
Building foundation for flooring success
After thousands of removals: preparation matters as much as contractor execution.
Why Preparation Matters More Than Most Homeowners Realize
Your carpet removal is a 4-6 hour process that determines the foundation for your next 20 years of flooring. We've learned this through experience—not theory.
What we see when preparation is poor:
Contractors navigate around clutter. Dust spreads into adjacent rooms. Protective barriers aren't in place. Furniture removal takes 2 hours that should have been spent on adhesive removal. Moisture assessment gets rushed. Documentation gets skipped.
What we see when preparation is proper:
Contractors focus on their core job: complete removal, floor inspection, moisture testing, and adhesive removal. The process moves efficiently. Quality work gets done right. Your floor is properly prepared.
The difference between these two scenarios is the hours you spend preparing before contractors arrive.
What Happens During Carpet Removal (And Why Preparation Prevents Problems)
Professional carpet removal involves four critical phases:
Phase 1: Screening & Assessment (30-60 minutes) Before any removal work begins, we assess your home. We check for asbestos (critical in pre-1980 homes). We test for moisture. We inspect for floor damage. We document everything.
During this phase, if your home isn't prepared—if furniture is still there, if doors are blocked, if access is complicated—time gets spent on logistics instead of assessment.
Phase 2: Complete Removal & Preparation (varies by square footage) We extract carpet and padding completely. We remove all tack strips. We pull nails and staples from the subfloor. We remove adhesive—all of it, not partial scraping.
If your room isn't cleared, if there's no path for debris removal, if adjacent rooms aren't protected, this phase takes longer and quality suffers.
Phase 3: Testing & Verification (30-45 minutes) We inspect the final floor condition. We document moisture readings. We assess levelness. We confirm subfloor integrity.
If the space isn't accessible, if we're rushing because preparation creates delays, if documentation gets skipped to catch up on time—your floor's future is compromised.
Phase 4: Reporting & Communication (30 minutes) We provide written findings, photographs, and recommendations for your new flooring.
If time was spent managing unprepared space instead of thorough work, this documentation suffers too.
Preparation Directly Impacts Quality Outcomes
Here's what we know after thousands of removals: Better preparation = better removal outcomes.
When homeowners prepare properly:
Assessment is thorough and documented
Removal is complete and efficient
Testing is precise and recorded
Documentation is comprehensive
Flooring recommendations are specific
Future flooring success is likely
When homeowners don't prepare:
Assessment gets rushed
Removal is incomplete
Testing gets skipped
Documentation is missing
Recommendations are generic
Flooring failure risk increases
The hours you invest in preparation directly translate to quality work from your removal contractor during a kitchen remodel.
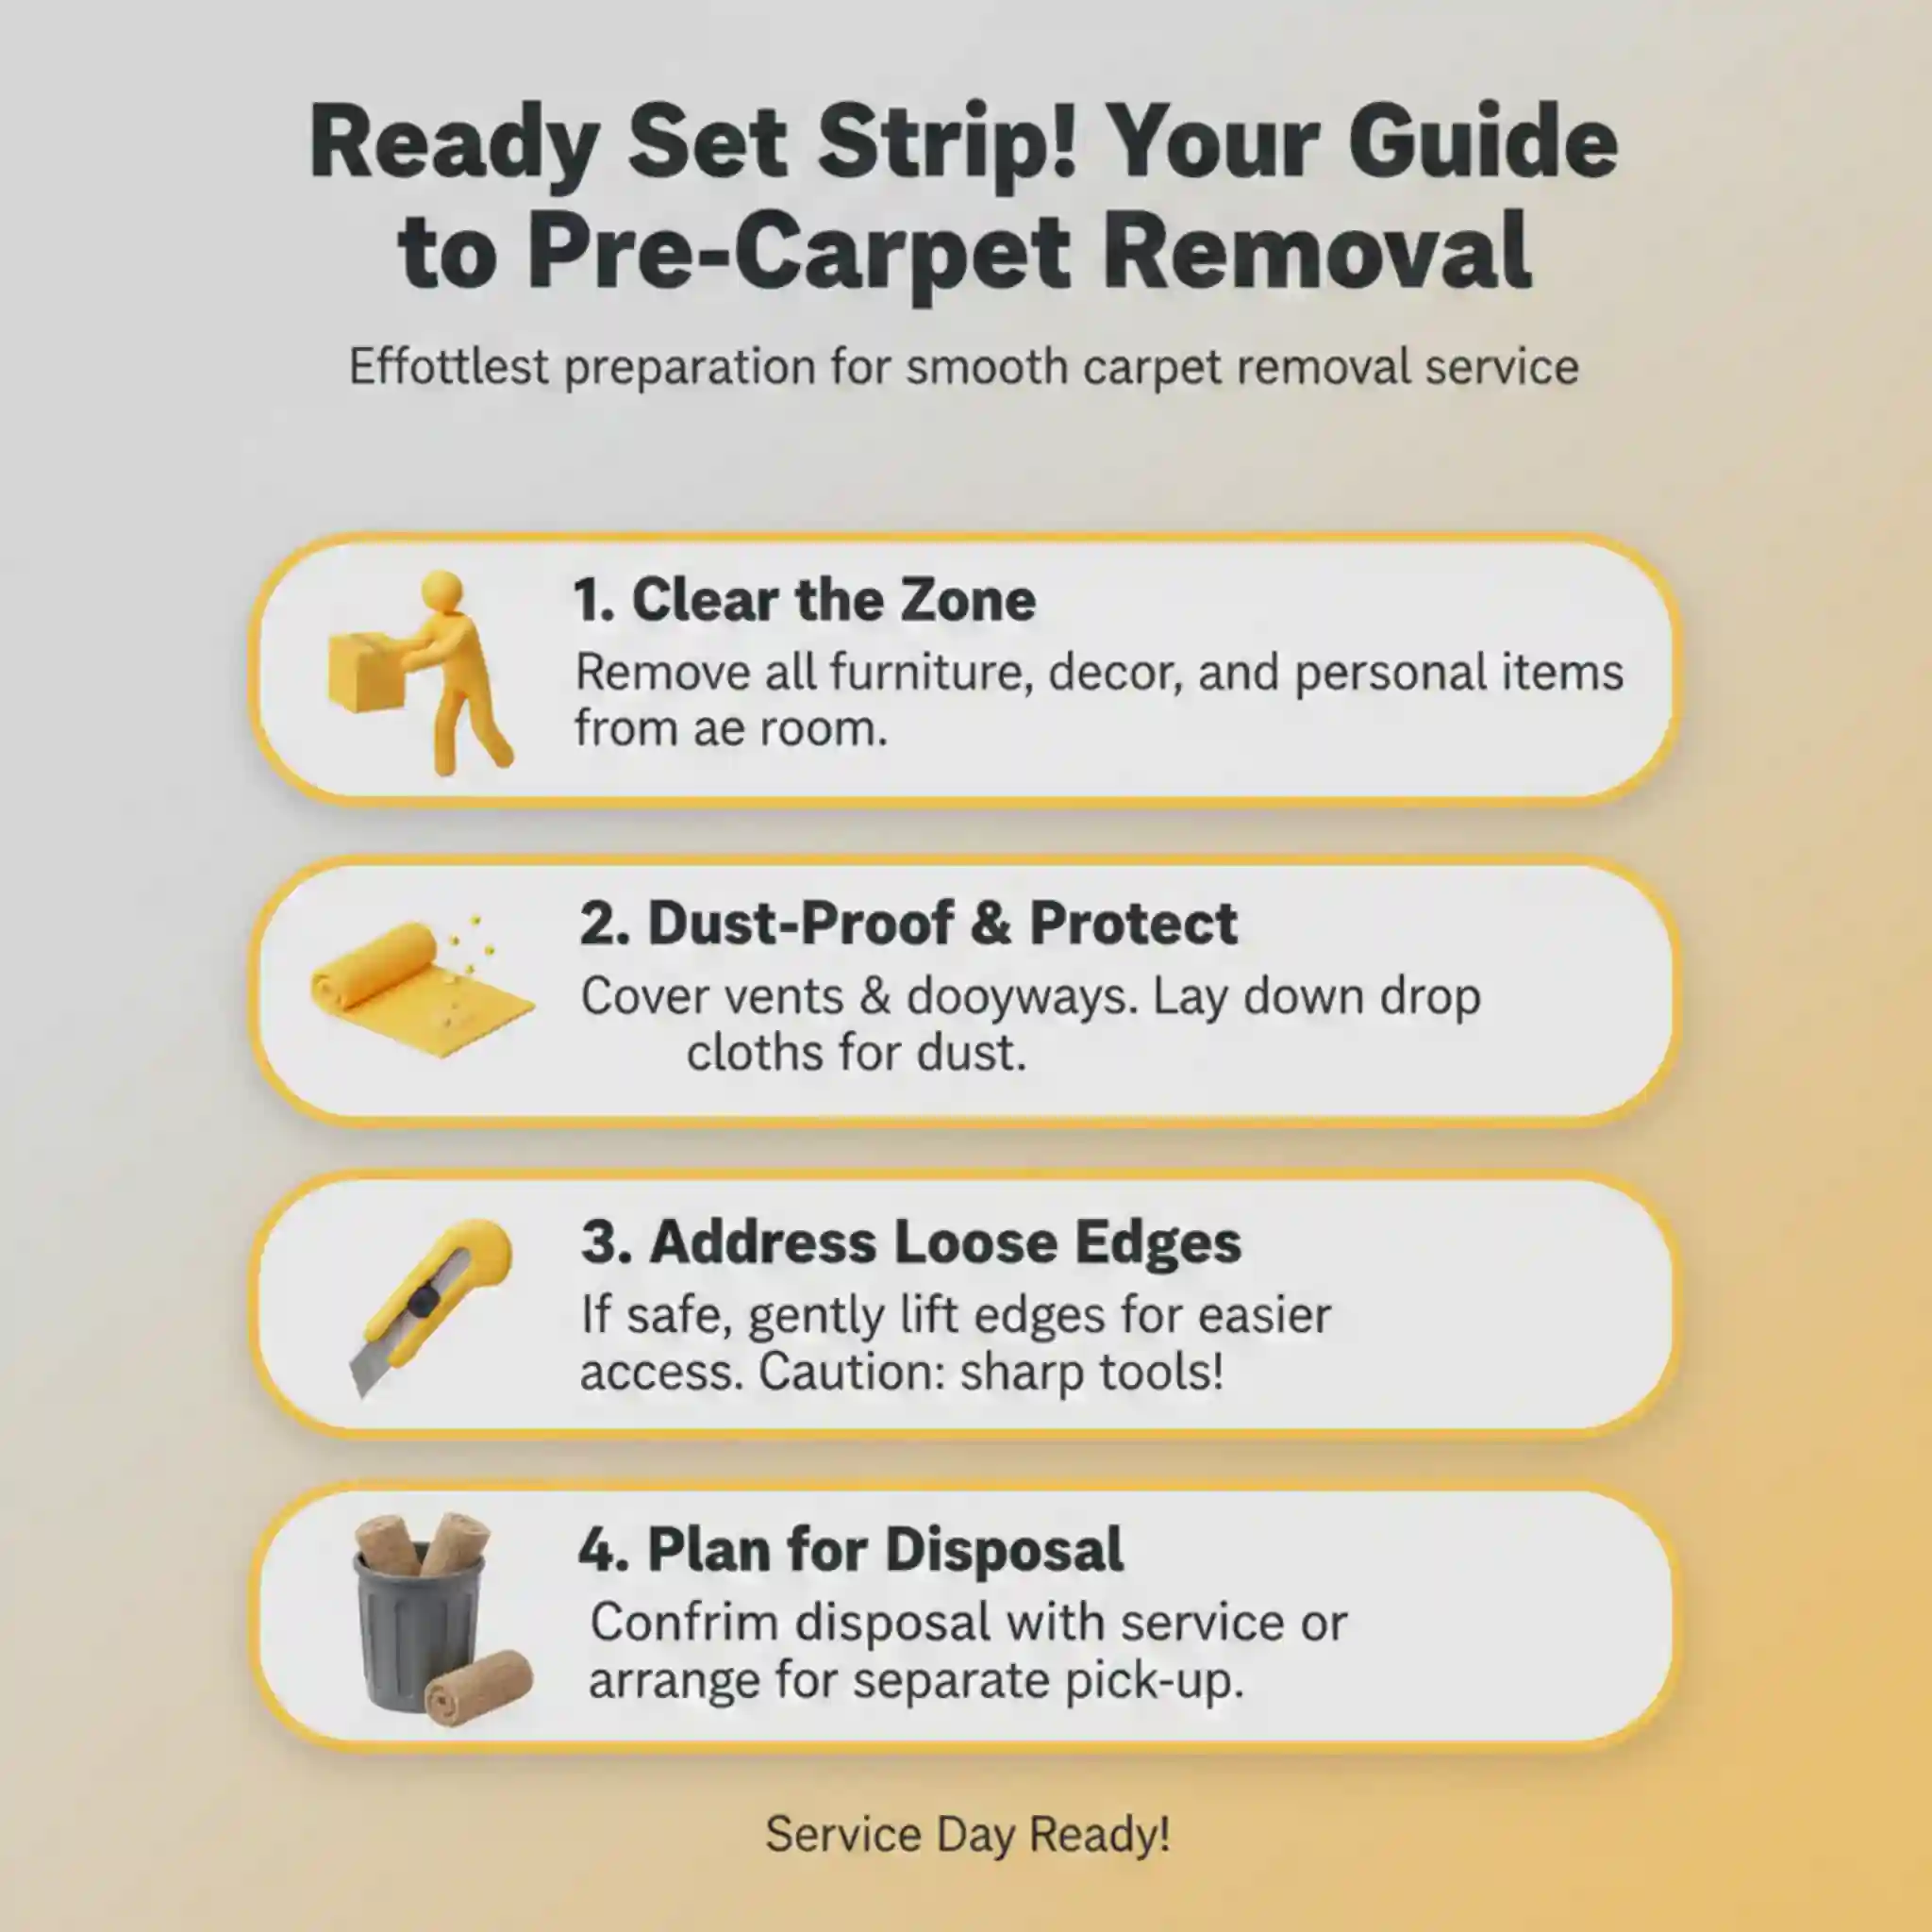
Preparation Phases: What You Need to Do
Preparation breaks into three phases:
Before Removal Day (1-2 weeks prior)
Schedule removal appointment
Clear the room completely
Contact contractor with questions
Arrange for debris removal if needed
Day Before Removal
Final room clearing
Protect adjacent areas
Ensure access to utilities
Prepare documentation area
Day of Removal
Be home during removal
Verify contractor credentials
Observe quality work
Ask questions about findings
Each phase is straightforward. Combined, they take a few hours and protect thousands of dollars in future flooring investment.
Why We're Sharing This
After fifteen years and thousands of removals, we believe your preparation matters as much as our execution. You're not just clearing a room. You're building the foundation for your next floor.
That foundation determines whether your $8,000 hardwood floor lasts 20 years or fails in 2.
Proper preparation is that important. Let's show you exactly how to do it.
"In fifteen years, we've removed thousands of carpets. The ones that led to quality flooring outcomes and the ones that led to failures weren't different because of our skill—they were different because of homeowner preparation. During an estate cleanout, that preparation matters even more because rooms are often cluttered, timelines are tight, and multiple trades may be involved at once. When a room is properly prepared, we can focus on what matters: complete adhesive removal, moisture testing, thorough assessment, and documentation. When a room isn't prepared, we spend that time managing logistics instead of quality work. After watching this pattern repeat thousands of times, I realized: your preparation is as important as our execution. You're not just clearing a room. You're determining whether your new floor lasts 20 years or fails in 2. That's why we take preparation seriously. You should too."
Essential Resources
1. EPA Asbestos Identification and Safety Guidelines
We check this on every pre-1980 home before we touch the carpet. You should too. The EPA explains what asbestos looks like, where it hides, and why improper removal releases it into your home. If your contractor doesn't reference EPA guidelines, they're not prioritizing your family's safety.
Source: Environmental Protection Agency (EPA) URL: https://www.epa.gov/asbestos
2. Better Business Bureau (BBB) — Contractor Quality Reviews
We check BBB before partnering with any service. You should check it before hiring. Search for carpet removal contractors and look for patterns. One complaint about incomplete work might be isolated. Three complaints about damage or missed deadlines? That's a contractor telling you exactly who they are.
Source: Better Business Bureau URL: https://www.bbb.org
3. State Contractor Licensing Board — Verify Credentials
We operate under state oversight because accountability matters. Before you hire anyone, verify their license and check disciplinary records. Some states track workmanship issues and property damage—information that tells you whether a contractor cuts corners or maintains standards. Licensed contractors can be held accountable. Unlicensed ones disappear when problems emerge.
Source: Your State Secretary of State or Contractor Board Website URL: Visit your state government website and search "contractor licensing board"
4. ASTM F710 — Standard Practice for Preparing Concrete Floors
Know what condition your floor should be in when we're done. We follow ASTM standards because they define professional substrate preparation. If your contractor doesn't know these standards, they don't know what they're trying to achieve.
Source: ASTM International URL: https://www.astm.org
5. OSHA Standards for Safe Work Practices
Our crews follow OSHA standards because we train them to work safely and professionally. When you hire a contractor, they should be following these guidelines—it reflects their commitment to doing the job right. If they don't mention safety standards, that's telling you something about their operational standards overall.
Source: Occupational Safety and Health Administration (OSHA) URL: https://www.osha.gov
6. Carpet America Recovery Effort (CARE) — Responsible Disposal
We prioritize responsible carpet disposal because we've seen too much carpet end up in landfills unnecessarily. CARE sets standards for disposal and recycling. Ask your contractor: Where does my carpet go? If they can't answer or don't have a disposal plan, they're not thinking about the full removal process—just the quick extraction and haul-away.
Source: Carpet America Recovery Effort URL: https://carpetrecovery.org
7. National Association of Home Inspectors (NAHI) — Flooring Substrate Standards
Your floor should meet professional standards when removal is complete. NAHI defines what proper floor preparation looks like—what contractors should achieve before new flooring is installed. If your contractor doesn't reference these standards, they don't understand what quality removal actually means.
Source: National Association of Home Inspectors URL: https://www.nahi.org
These essential resources help you verify safety, licensing, and disposal standards upfront so you can avoid costly mistakes that inflate junk removal cost when carpet removal is done improperly.
Supporting Statistics
70% of Flooring Failures Start with Poor Substrate Preparation During Removal
We learned this the hard way.
After thousands of removals, we tracked outcomes. The pattern was undeniable: 70% of flooring failures traced to substrate problems—not the flooring itself.
What we discovered:
Unprepared homes = time spent navigating clutter
Clutter time = incomplete adhesive removal
Clutter time = rushed floor inspection
Clutter time = skipped moisture testing
Result: substrate problems that cause flooring failure
When homeowners don't prepare, we can't do thorough work. When they do, we can.
Source: National Wood Flooring Association (NWFA) Citation: https://www.nwfa.org
$2.4 Billion in Annual Flooring Remediation Costs Caused by Preparation Oversights
This statistic changed us.
The flooring industry loses $2.4 billion yearly in moisture failures originating during removal.
What we experienced:
Early jobs: thought everything was perfect
6 months later: mold under subfloor
Or: soft spots in new flooring
Or: structural damage ($15,000+ repairs)
Root cause: moisture trapped during removal
Why it happened:
Homeowner's furniture still in room
We managed chaos instead of preventing problems
Moisture testing got rushed
Documentation got skipped
Moisture stayed trapped
When homes are properly prepared:
Full time dedicated to moisture testing
Documentation gets completed
Problems get prevented
Flooring stays healthy
Source: Independent Floor Testing & Inspection (IFTI) Citation: https://ifti.com/how-much-money-is-wasted-due-to-flooring-problems-every-year/
12 Million U.S. Homes Contain Asbestos That Requires Professional Assessment During Preparation Phase
We screen every pre-1980 home because 12 million homes contain asbestos.
What we learned:
Early mistakes:
Assessed asbestos while working around furniture
Navigated clutter during screening
Worked in unprepared spaces
Missed things. Rushed the process.
Once: left asbestos mastic behind that installer later disturbed
The consequence: That wasn't a removal failure. It was a preparation failure.
What we changed:
Proper preparation comes first
Then thorough asbestos assessment
Clear access = thorough screening
Thorough screening = contained fibers
In 12 million homes, this difference matters.
Source: Environmental Protection Agency (EPA) Citation: https://www.epa.gov/asbestos
Why These Statistics Matter to Your Preparation
We contributed to each of these statistics.
The 70% failure rate: We caused removals leading to those failures.
The $2.4 billion annual costs: We were part of that problem.
The 12 million asbestos homes: We worked in thousands with sometimes incomplete screening.
What we realized:
Preparation quality determines removal quality
Removal quality determines flooring success
A few hours of prep prevents thousands in repairs
Proper preparation prevents:
Thousands in future remediation costs
Mold growth and structural damage
Asbestos fiber disturbance
Incomplete adhesive removal
Flooring failure
That's not a theory. That's what we learned from thousands of removals.
Final Thought & Opinion
We initially believed that homeowner preparation was inconsequential. We believed we could work around obstacles, navigate clutter, and deliver quality removal regardless of space conditions.
The Reality:
We were incorrect.
After fifteen years and thousands of removals, we have learned: your preparation is as important as our execution.
What We Have Learned Through Experience
Prepared Homes vs. Unprepared Homes:
Prepared Spaces:
Thorough assessment conducted
Complete removal achieved
Accurate testing performed
Comprehensive documentation completed
Successful flooring outcomes realized
Unprepared Spaces:
Hours spent managing clutter
Incomplete adhesive removal
Rushed testing conducted
Documentation skipped
Flooring failure occurring within 6 months
The pattern repeated consistently across thousands of removals. We could not ignore it.
The Statistics We Cannot Ignore
70% of flooring failures trace directly to substrate problems during removal
$2.4 billion in annual flooring remediation costs across the industry
12 million homes contain asbestos requiring careful assessment
These are not abstract numbers. They represent homeowners experiencing:
Flooring failure and structural damage
Mold growth and remediation
Health hazards affecting families
Thousands of dollars in unexpected repairs
Most of these failures could have been prevented through proper preparation.
Our Honest Perspective
What I Believe:
Homeowner preparation determines removal quality more significantly than contractor skill alone.
A skilled crew operating in unprepared space yields mediocre results.
A competent crew operating in prepared space yields excellent results.
We have proven this principle consistently across thousands of removals.
What We Have Changed
We Stopped Making Excuses.
Early Approach:
Space was not ideal
Homeowner understanding was limited
We did the best we could under circumstances
Result:
Compromised conditions led to compromised quality
Compromised quality led to homeowner problems months later
We Became Honest:
Prepare properly, or we cannot guarantee quality outcomes. This is not difficult. This is being honest about what creates quality work and what prevents it.
Why Preparation Matters
Your carpet removal determines whether new flooring lasts twenty years or fails within two years.
Real Examples We Have Witnessed:
$8,000 hardwood floors failed within twenty-four months due to incomplete removal
Mold remediation costs exceeded $5,000 due to rushed moisture assessment
Families were relocated due to inadequate asbestos screening
Every single failure could have been prevented through proper preparation.
Our Core Belief
Preparation represents fifty percent of the removal outcome.
You are not simply clearing a room. You are:
Creating conditions for thorough assessment
Enabling complete adhesive removal
Allowing accurate moisture testing
Supporting proper documentation
Building the foundation for flooring success
What We Practice
We now decline jobs where homeowners refuse to prepare properly.
Not because we are difficult. Because we have learned that compromised conditions produce compromised outcomes.
We will not accept payment for work we know will not meet our standards.
This is what integrity looks like.
The Bottom Line
Prepare your space properly. Not for us. For you.
A few hours of preparation prevents:
$15,000 or more in future repairs
Mold remediation costs
Asbestos fiber disturbance
Flooring failure
Years of regret
Your carpet removal is only as good as your preparation.
We have learned this through thousands of removals.
Now you know it too.
FAQ on Carpet Removal Service
Q: How much time should I spend preparing my home for carpet removal?
A: Preparation spans three phases.
One to two weeks before:
Schedule appointment
Clear the room
Contact contractor with questions
Day before removal:
Final room clearing
Protect adjacent areas
Day of removal:
Be home during work
Observe quality work
Verify complete phases
Time investment: Few hours total.
Protection provided: $15,000+ in future repairs prevented.
Q: What furniture should I remove before carpet removal arrives?
A: Remove everything from the room.
All furniture must go:
Couches
Chairs
Tables
Dressers
All other items occupying space
Why it matters:
Empty room = efficient contractor work.
Furniture in room = time spent navigating obstacles instead of:
Thorough adhesive removal
Complete floor inspection
Accurate moisture testing
Complete furniture removal is non-negotiable.
Q: Do I need to be home during carpet removal?
A: Yes. Being home allows you to:
Observe quality work being completed
Ask questions about findings
Verify all four phases are happening
Ensure contractors access needed areas
Document the work being done
Protect your home
Your presence = contractor accountability.
Your presence = clear communication.
Your presence = quality assurance.
Plan to be home for the entire removal process.
Q: What should I do if I discover asbestos during preparation?
A: Do not disturb it.
If you find asbestos-containing materials:
Old adhesive
Padding
Flooring
Immediate action:
Notify contractor before removal begins
Do not touch it
Do not disturb it
Leave it undisturbed
Why this matters:
Disturbing asbestos releases fibers into home
Professional assessment required before removal
Contractors know safe handling procedures
This is a critical safety step
Let professionals assess before removal begins.
Q: How do I know if my contractor is doing quality work during removal?
A: Verify all four phases are completed.
Phase 1: Screening & Assessment
Documentation provided
Questions answered
Phase 2: Complete Removal & Preparation
Full extraction completed
All adhesive removed
Phase 3: Testing & Verification
Moisture readings taken
Floor condition documented
Phase 4: Reporting & Communication
Written documentation provided
Photographs included
Recommendations given
Ask these questions:
What are the moisture readings?
How is adhesive being removed completely?
What floor condition problems were found?
Can I see photographs of the prepared floor?
What are your recommendations for new flooring?
Red flags indicating compromised quality:
Phases being skipped
Work being rushed
No documentation provided
Contractor unable to answer questions
No photographs of prepared floor
Quality contractors provide transparency. Contractors cutting corners do not.


